
FRIENDSGIVING DIY CENTER PIECES
Make this friendsgiving the best one yet with DIY centerpieces courtesy of Williams Sonoma’s Blog.
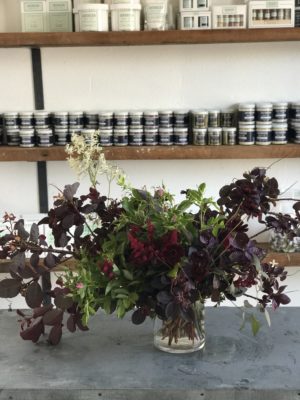
 Above: Megan’s stunning Thanksgiving arrangements. Below left: Megan Arambul of Fieldwork Flowers.

For our Williams Sonoma Open Kitchen Thanksgiving with local chef Joshua McFadden, Megan Arambul, owner of Fieldwork Flowers in Portland, Oregon, transformed the Jacobsen Salt Co. warehouse into a stunning, greenery-filled space for dinner.
She placed large, statement-making arrangements in key spaces, like the buffet, then lined the table (which would be crowded with platters of food) with smaller bud vase filled with chocolate cosmos and smokebush. “I wanted the Thanksgiving flower arrangements to feel full and lush, but also be able to fade into the background when the food arrived” says Arambul.
Looking for a similarly natural, effortless feel for your own thanksgiving? Here’s how you can DIY your own Thanksgiving arrangements.
Go Local
For sourcing flowers, Arambul recommends starting close to home. “Try to get 50 to 60 percent of the items in your arrangement from your own yard,” says Arambul. “It can be maple branches, pin oak, olive branches, eucalyptus sprigs—anything that’s wild and local and looks healthy.”
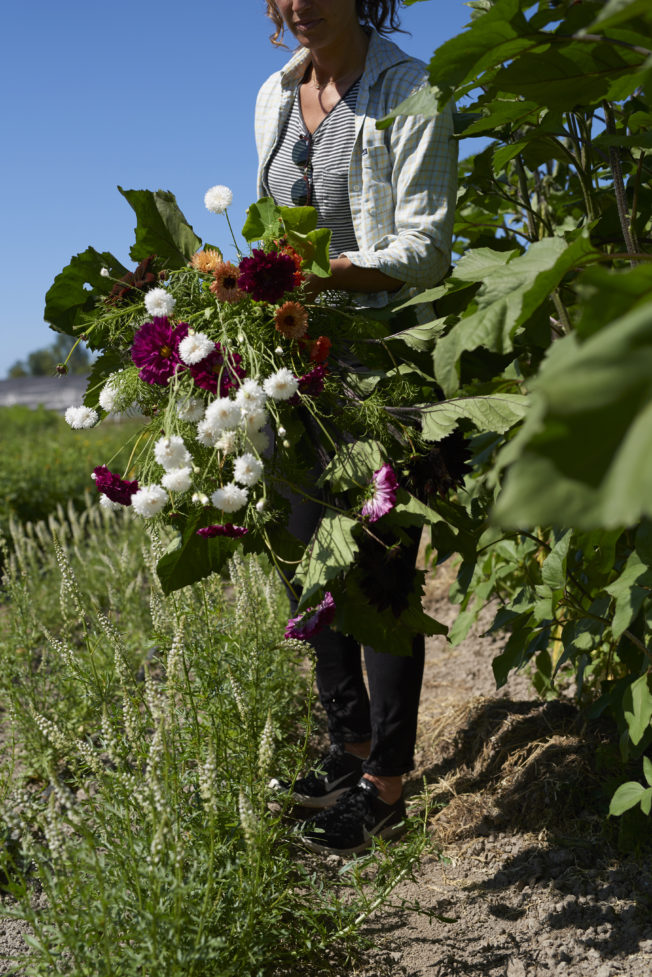
Arambul sourcing flowers from a local farm the day before the Thanksgiving dinner.
Add Flair
Then, head to your local florists to find flowers in colors you like. “If your branches are real treasures, just get a few filler flowers—something with a large, lush head and that contrasts the branches in color and texture.”
When it comes to color, it’s really all about personal preference says Arambul. You could keep it simple with green and white, plus a couple of darker maroon flowers thrown in, or add an unexpected twist specifically for Thanksgving. “This year I’d try adding a cherry red color to my Thanksgiving flowers,” says Arambul. “You might think it’s too ‘holiday’ but it will add a fresh pop to the table to complement the orange and brown hues in the food.”
Arrange with Style
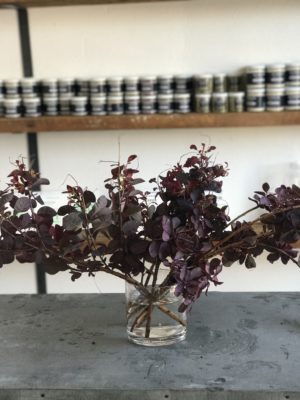
1. PLOP
To start off with a quick foundation, take a branch of large flower with a side stem and “plop” it into the vase or jar. See which way it falls—it may lean to one side or another or fall to the back. “Don’t style it at this point, just get a few large foundational stems in the vase,” says Arambul. These should take up about 30 to 40 percent of the space in your vase.
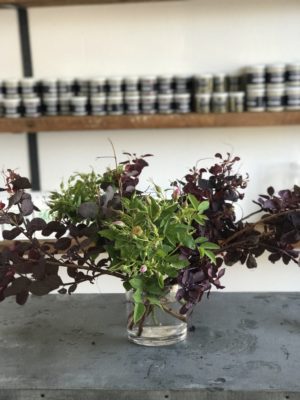
2. PUSH
Next, push the “plop” stems to the back of the vase—they’ll serve as the backdrop and general shape around which all the other flowers will form.
3. PUT
After you’ve pushed your foundation to the back of the vase, put another flower in the vase at an angle. Then, push the arrangement back again, and put in another flower. This is where the bulk of your arranging will happen. “Remember to always apply flowers to the outside and to place each flower in at an angle to create width for your arrangement,” says Arambul.
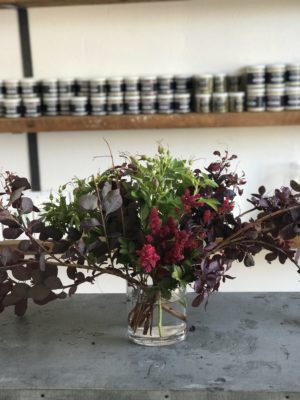
4. POINTER
The “pointer” flowers are a few really long flowers or branches that are used as the finishing touches. “I love the energy and spontaneity that a pointer flower can add to an arrangement,” says Arambul. “It can be a flower, an apple branch—anything that’s interesting to you.” Add a few “pointers” around your arrangement, avoiding a perfectly symmetrical shape—try one shooting out towards the side or sprinkle a few at the edges of the center. The overall effect should be structural yet effortless.

